
How to Start a Blog: A Practical Guide for Beginners

To start a blog, choose a subject and reader, pick a publishing platform, and set up your basic pages. Then write your first group of articles and choose a schedule you can keep. A blog is a regularly updated website with the newest articles first. You can use it to share what you know, document projects, or build an audience. You need a plan and clear writing to get started, but you don't need deep technical knowledge.
It's easy to spend all your time on setup. Many tutorials concentrate on the technical details or expensive hosting packages and barely touch on writing articles people want to read. Others explain blogs without helping you launch one. Setting up the site and writing for it belong in the same plan, from deciding which pages you need to editing your first post.
What is a blog? Definition and core anatomy
Blog is short for weblog. What began as a format for personal journals now includes educational guides, independent journalism, and industry commentary.
A blog is organized into individual entries called posts. A brochure website might stay much the same for years; a blog grows as you add analysis, tutorials, or commentary.
Most blogs have these elements:
- Reverse chronological feed: The newest article appears at the top of the main index or category page, so returning readers can see what's new.
- Publication metadata: Each post typically displays the author name, publication date, estimated reading time, and relevant subject tags.
- Taxonomies: Categories group articles by broad subject, while tags identify more specific topics. Both help readers find related posts.
- Discussion channels: Many blogs include comment sections or feedback forms where readers can ask clarifying questions and discuss the material.
- Internal archives: Older articles stay available through archives, search tools, and links from related posts.
Dynamic posts versus static pages
Knowing what belongs in a post and what belongs on a page helps you organize your site. The official WordPress documentation on the posts screen explains how posts work as time-sensitive entries with categories, tags, and publication dates.
Posts are the entries that keep a blog current. Depending on your platform and settings, a new post can appear in a recent-posts feed, a category archive, or an RSS feed. Use posts for tutorials, industry updates, opinion essays, and case studies.
Pages are static content. They sit outside the timeline of posts and rarely change after you create them. Pages usually have no publication date, author, or category, and they don't appear in the feed of recent posts. Link to them from your main menu or footer. Your About page, Contact form, and Privacy Policy belong here.
| Feature | Dynamic blog posts | Static website pages |
|---|---|---|
| Primary purpose | Timely articles, tutorials, news, and ongoing analysis | Permanent foundational information about you or your site |
| Default sorting | Reverse chronological order with newest content first | Organized into hierarchical menus and parent or child pages |
| Categorization | Uses categories and topic tags for filtering | Does not use categories or tags |
| Publication dates | Displays publication date and timestamp | Omits dates to preserve evergreen presentation |
| Syndication | May appear in an RSS feed if the site offers one | Usually sits outside the post feed |
| Navigation location | Found through blog archives, categories, and internal links | Linked directly from header menus and site footers |
The four main types of modern blogs
Before writing, identify the format that best fits your goals. Most blogs belong to one of four categories:
- Personal blogs: These focus on personal growth, hobbies, travel reflections, or creative experiments. The writer is their own main audience and uses the blog to reflect, practice writing, and record milestones.
- Professional and personal brand blogs: Professionals write these to demonstrate subject-matter expertise, document engineering or design projects, and attract career opportunities or consulting clients.
- Niche and instructional blogs: These blogs cover a specific subject in depth, such as gardening, personal finance, woodworking, or software development. Detailed walkthroughs help readers solve problems.
- Business and corporate blogs: Companies publish articles to explain product features, answer customer questions, share industry research, and attract organic web visitors who may become customers.
Defining your blog's core goal helps guide subsequent decisions about its name and overall publishing strategy, as discussed in the Ciudadano 2.0 guide to starting a blog.
Step 1: Choose your topic and target reader
An overly broad topic can make it hard to plan your next post. General life advice or everything related to technology gives you plenty of freedom, but makes it hard to attract regular readers. People subscribe when they know a blog will keep helping them with a particular set of problems.
Check your topic against three questions:
- Do you have firsthand experience or technical skill in the subject, or enough interest to study it closely?
- Are people searching for answers, instructions, or a fresh perspective on it?
- Could you come up with at least fifty different article ideas and still want to write about it?
Once you have a general subject, narrow it to a focused niche. Instead of launching a blog about cooking, consider a blog about quick weeknight dinners for parents. Instead of a general web design blog, focus on accessible web interfaces for small business websites.
Next, think about the person you want to help:
- What specific frustration or obstacle brought them to your article?
- What is their existing level of knowledge on this subject?
- What terminology do they use when searching for answers?
- What practical outcome do they expect after finishing your guide?
Picture that person as you write. If they're a beginner who finds the jargon overwhelming, define technical terms and use plain language. Check that you haven't skipped an explanation they need.
Step 2: Select a memorable name and domain
Choose a blog name that gives visitors a sense of your subject. It should be easy to remember, spell, and share.
Beginners typically choose between two naming strategies:
- Personal brand name: Using your own name, such as alexandermurphy.com, works well for consultants, authors, freelancers, and experts who write about several subjects over their careers. Your name gives you room to change focus later.
- Descriptive topic name: Using a phrase that describes the subject, such as cleanwoodworking.com, tells first-time visitors exactly what to expect. Descriptive names work best for niche instructional blogs and collaborative publications.
When choosing a domain name, follow these practical rules:
- Keep it concise: Aim for two to three words. Long domain names invite typos on mobile keyboards.
- Prioritize standard extensions: A .com extension remains the most intuitive for global audiences. Country-specific extensions such as .co.uk or .de work well for strictly local audiences.
- Avoid hyphens and digits: Names like best-tech-tips-4-u.com look spammy and are hard to say aloud.
- Check social handle availability: Check for matching usernames on the discussion platforms you plan to use so people can find you under the same name.
- Verify trademark registries: Search national trademark databases to ensure your intended name does not infringe on established businesses.
Register your domain through an accredited domain registrar. Keep the registration separate from your hosting provider when possible. That gives you the freedom to change hosts without getting tangled up in the domain paperwork.
Step 3: Pick a publishing platform
You don't need expensive software or a proprietary hosting agreement to start a blog. You can choose a managed service that handles the hosting for you, or run a content management system yourself. The choice comes down to how much control you want and how much maintenance you're willing to do.
Self-hosted content management systems
A self-hosted content management system, most notably WordPress.org, gives you complete ownership of your site files, database, and design. You rent server space from an independent hosting company and install the open-source software.
You can customize every line of code, install plugins for newsletters or analytics, and move your data between hosts. That freedom comes with work. You're responsible for software updates, security settings, database backups, and fixing technical problems.
Managed hosted platforms
Managed platforms, such as Substack, Medium, Ghost(Pro), or WordPress.com, handle hosting, software upgrades, server maintenance, and security automatically. You create an account, select a theme, and start writing immediately.
A managed platform suits writers who don't want to manage databases or configure servers. Check the limits before signing up, though. Free tiers often restrict custom domain names, ways to earn money, advertising, and changes to your site's layout.
Static site generators
For technical writers and developers, static site generators such as Hugo, Astro, or Next.js compile Markdown text files into flat HTML pages. These sites are fast, secure, and inexpensive to host on modern cloud distribution networks. They require familiarity with command-line tools, version control, and template syntax, making them less suitable for non-technical beginners.
| Platform category | Setup complexity | Content control | Ongoing maintenance | Best suited for |
|---|---|---|---|---|
| Self-hosted WordPress | Moderate | Complete ownership of code and data | Manual updates, backups, and security | Writers who want full design control and independence |
| Hosted newsletter platforms | Low | High for subscriber lists, moderate for layout | None; platform handles all infrastructure | Authors focusing purely on newsletters and essays |
| Managed blogging networks | Low | Low; subject to network moderation | None; fully managed by vendor | Writers seeking instant access to an internal network |
| Static site frameworks | High | Complete ownership via version control | Low once configured; technical deployments | Programmers and technical writers using Markdown |
Step 4: Set up essential static pages
Before publishing your first article, set up these four parts of your site so new visitors can find their way around and learn who you are:
The About page
Your About page gives interested readers a place to learn who wrote the articles and why they should trust your advice.
Use your About page to explain who you help and which problems your articles address. Include the experience behind your advice, but save the full resume. Add a clear photograph and invite visitors to subscribe or read your main guides.
The Contact page
Give readers a simple contact form or an email address for website inquiries. Make it easy to send feedback and corrections or ask about working together. Readers' questions can also give you ideas for future posts.
The Privacy Policy and legal notices
Check what data your site collects through features such as analytics, comments, or email signup forms. Explain those practices in a privacy notice suited to your site. If you publish product recommendations or accept sponsorships, disclose those relationships to readers.
The homepage navigation
Aim to help a new visitor find their way within five seconds. Put links to your About page and main topic categories in the header, and make the search bar easy to spot. Flashing banners, complicated sidebar widgets, and popups get in the way.
Step 5: Plan your first cluster of articles
A site with a single post can feel empty. If someone enjoys your first article, give them something related to read next. Prepare five related articles before announcing your blog.
For those five articles, use this mix:
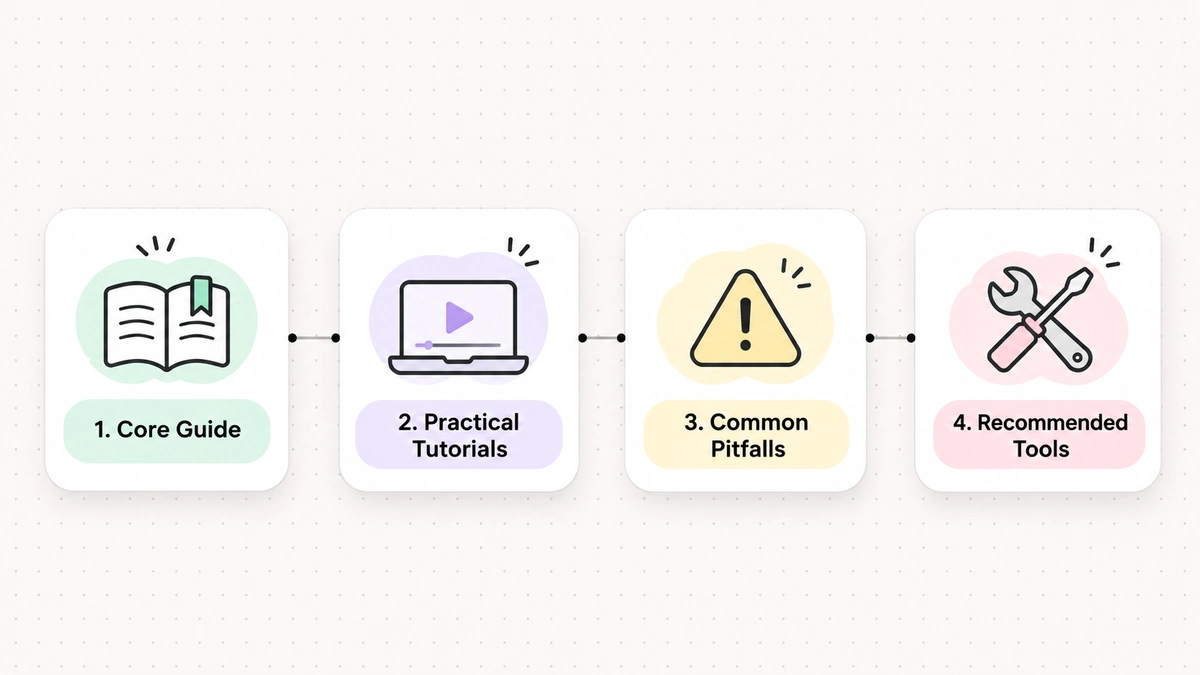
- One main guide or manifesto: Give an overview of your subject, explain your approach, or answer the biggest beginner question.
- Two step-by-step tutorials: Walk readers through a problem all the way to a finished result.
- One post about common mistakes: Explain where beginners get stuck and how to fix those problems.
- One resource list or comparison: Give a fair assessment of tools, books, or materials you use and recommend.
Start with questions people already ask you. List the ten you hear most often from junior colleagues, clients, or friends interested in your field. A specific question can become a useful post title.
Step 6: Draft readable articles for web readers
A web reader usually arrives looking for an answer and has limited time to find it. That calls for a different approach from a dissertation or novel. Bury the answer under a long introduction and readers leave.
In a 1997 study on how users read on the web, Jakob Nielsen found that 79 percent of test users always scanned any new page they encountered, while only 16 percent read word-by-word. Help readers scan by using descriptive subheadings and bulleted lists, putting the answer first, and keeping each paragraph to one main idea.
The Digital.gov plain language guidelines also advise putting the most important information first. They recommend short sentences, active verbs, and breaking complex instructions into manageable steps.
Use these habits when organizing a post:
Use the inverted pyramid structure
Answer the main question in the first two sentences. Then explain the reasoning, add historical context where it helps, and work through exceptions and examples. Someone who needs a quick answer can stop early; someone who needs more detail can keep reading.
Craft descriptive subheadings
Write subheadings that tell readers what each section covers. A playful title isn't useful if it hides the subject. Read just your headings in order: they should make sense as an outline of the advice.
Keep paragraphs short and focused
Keep each paragraph to three or four sentences about a single point. The space between paragraphs gives readers a pause, especially when they're working through technical advice on a phone.
Worked Before and After editing examples
Reviewing draft sentences before publishing removes distracting filler and sharpens your message. The examples below demonstrate how to eliminate empty phrases without losing essential facts.
Example 1: Cutting introductory filler and fluff
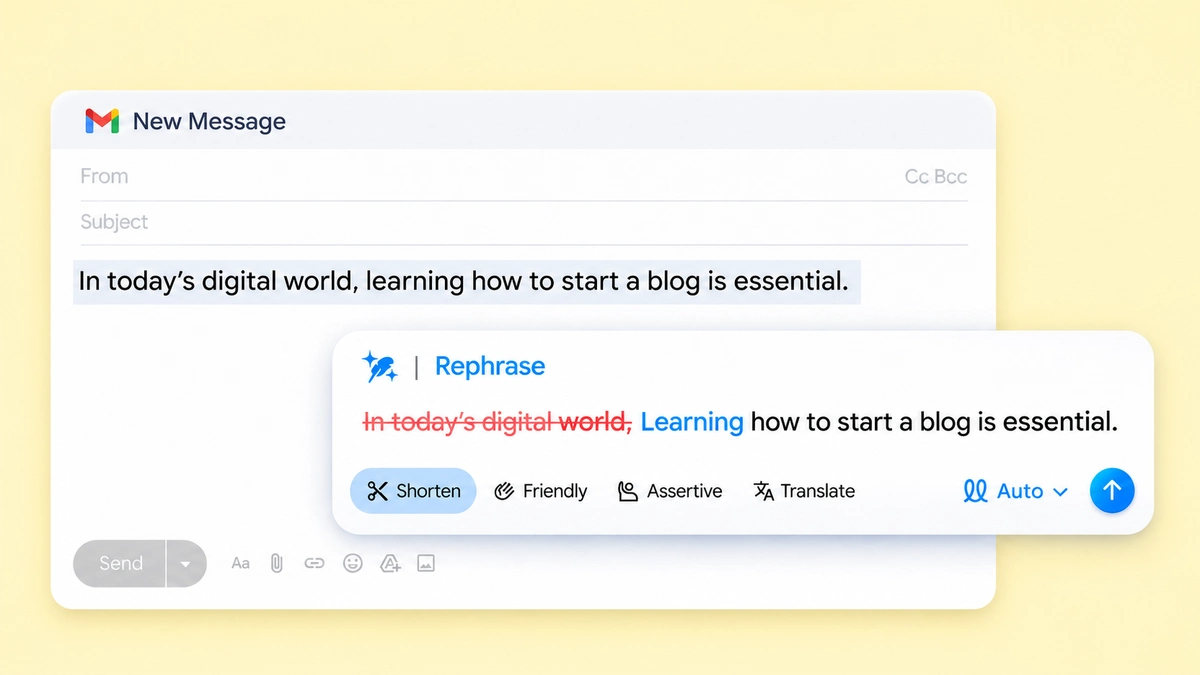
Before: In today's digital world, learning how to start a blog is essential.
After: Learning how to start a blog is essential.
Why this edit works: The opening phrase "In today's digital world" is a widely recognized cliché that adds zero useful information. Cutting it makes the statement immediate and energetic while preserving the exact claim of the original sentence.
Example 2: Replacing a hedged suggestion with an instruction
Before: When a writer creates a new blog post, they should outline the core points before drafting.
After: When creating a new blog post, outline the core points before drafting.
Why this edit works: The revision replaces a hesitant suggestion ("they should outline") with a clear, direct imperative ("outline"). It delivers the identical instruction with greater clarity and fewer words.
Example 3: Tightening conditional advice
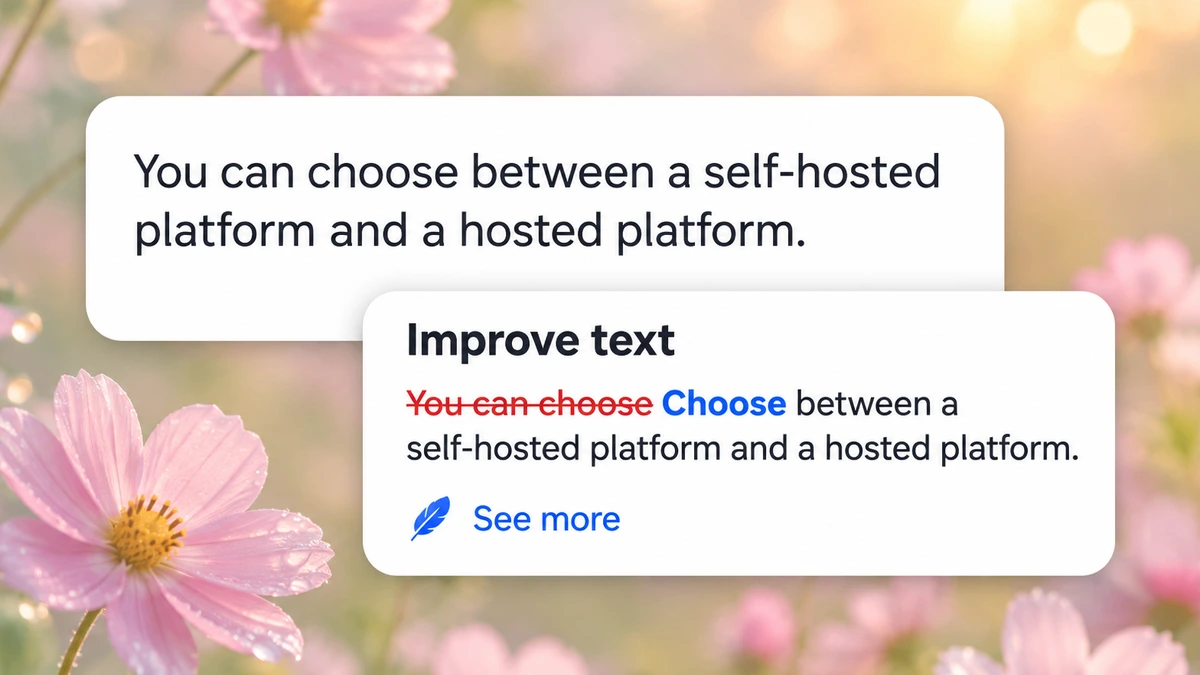
Before: You can choose between a self-hosted platform and a hosted platform depending on your technical preferences.
After: Choose between a self-hosted platform and a hosted platform depending on your technical preferences.
Why this edit works: Removing the tentative filler words "You can" transforms an indecisive sentence into an actionable recommendation while retaining every fact and condition from the original draft.
Step 7: Edit and polish your writing
Write your first draft without stopping to fix every grammar mistake. Then leave it for a few hours. When you return, it's easier to notice awkward wording, gaps in the facts, or sections in the wrong order.
Edit in three separate passes:
- Structural pass: Verify that the overall argument flows logically. Do the headings match the content beneath them? Are any steps missing from your tutorials? Did you answer the promise made in your title?
- Line editing pass: Read the text aloud. Listen for awkward rhythms, repeated sentence patterns, and jargon. Split sentences that are hard to follow. Look for homophones and subtle errors that basic spellcheckers overlook, using our reference guide to commonly confused words.
- Fact and link verification pass: Test every external link to ensure it resolves to a working, authoritative page. Check numbers, dates, software version names, and quotations against primary records. If you use automated drafting assistance, consult our checklist on how to check an AI rewrite to ensure added claims or altered conditions did not slip into your text.
Wordfully works as a Chrome extension in your web editor or Google Docs. It catches grammar mistakes, can fix several errors in a sentence in one click, and explains its suggestions. You can also rephrase a sentence or make it friendlier, firmer, or shorter. You choose which edits to keep. Our overview of the Wordfully AI writing assistant extension explains how the inline suggestions work.
Step 8: Build a publishing routine and keep going
Consistency is the main difference between blogs that last and those that get abandoned. Many writers publish five articles in their first week, run out of ideas, and give up after a month. Choose a pace you can sustain: one carefully researched article every two weeks serves readers better than daily posts that don't help them solve a problem.

Develop a repeatable editorial workflow
Give each part of the work a place in your week:
- Capture ideas: Keep a notebook on your phone or computer. When you fix a tricky bug, answer a customer's question, or read an interesting paper, write down the idea while it's fresh.
- Outline before drafting: Spend fifteen minutes arranging your headings and main bullet points. An outline gives you a plan to follow when you're stuck for words.
- Draft in focused sprints: Write the body quickly, without stopping to edit. Give drafting and editing separate time.
- Polish and format: Add subheadings, useful comparison tables, and relevant links. Finish with a proofreading pass.
- Publish and archive: Publish the article and update your topic index. Share it with interested peers or communities that are discussing the subject.
Align with helpful content standards
Reliable, original writing matters to readers and search engines. Google Search Central's guidance on creating helpful, reliable, people-first content asks publishers to share original information, show firsthand expertise, and write for people rather than algorithms. Answer questions thoroughly and draw on your own experience, including failed experiments and what you learned from them. Those details give readers something a generic automated summary can't provide.
Common blogging mistakes to avoid
Watch for these habits when you start:
- Agonizing over visual design: Spending months adjusting fonts, color palettes, and logos before publishing articles delays your launch. Choose a clean, legible default theme and focus entirely on creating useful articles.
- Writing without an identified reader: Treating a blog as an unorganized diary while expecting organic search traffic creates a mismatch. Ask what the reader will get out of the post.
- Ignoring technical basics: Failing to configure automated database backups, clean permalinks, or mobile responsiveness can lead to technical problems you could have prevented.
Frequently asked questions
What is the difference between a blog and a regular website?
A blog publishes regular articles with the newest first. A static website mainly has pages that change infrequently, such as services, company history, and contact details. Many sites use both: permanent business pages alongside a blog for tutorials and company news.
How much technical experience do I need to start a blog?
You don't need to know how to code. Managed platforms and modern content management systems have visual editors with familiar word-processing controls for writing, formatting, and publishing. Basic computer skills and a browser are enough to set up and manage a site.
How long should a typical blog post be?
Write enough to answer the reader's question without padding. There's no fixed minimum or maximum. A simple definition or quick bug fix may take 800 words, while a detailed guide or technical tutorial often takes 2000 words or more. Check whether the explanation is clear and useful before worrying about its length.
Can I change my blog name or platform later?
Yes. Owning your custom domain lets you move your content and audience to another platform as your needs change. You can also rename the blog or redirect the domain later. Choosing a simple, flexible name now saves some of that administrative work.